Login
The login page looks like figure 1, “Login Page” below.
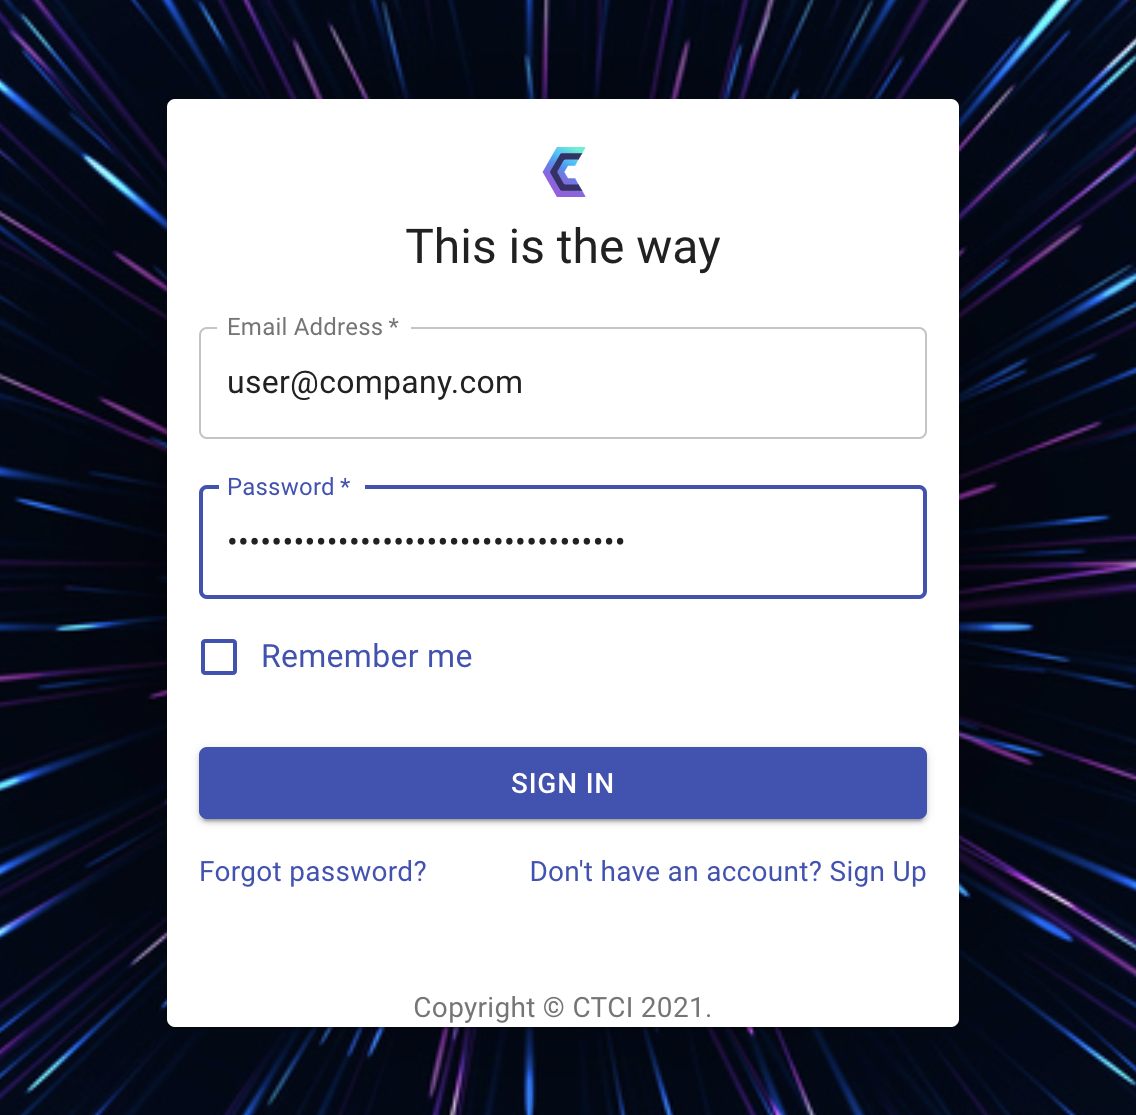
Figure 1, “Login Page”
If it is your first time logging in and you still haven’t confirmed your email address, you will have a reminder to confirm your email address. If you can’t find the email, you can create a new key and send this email accordingly.
Confirm Email Address
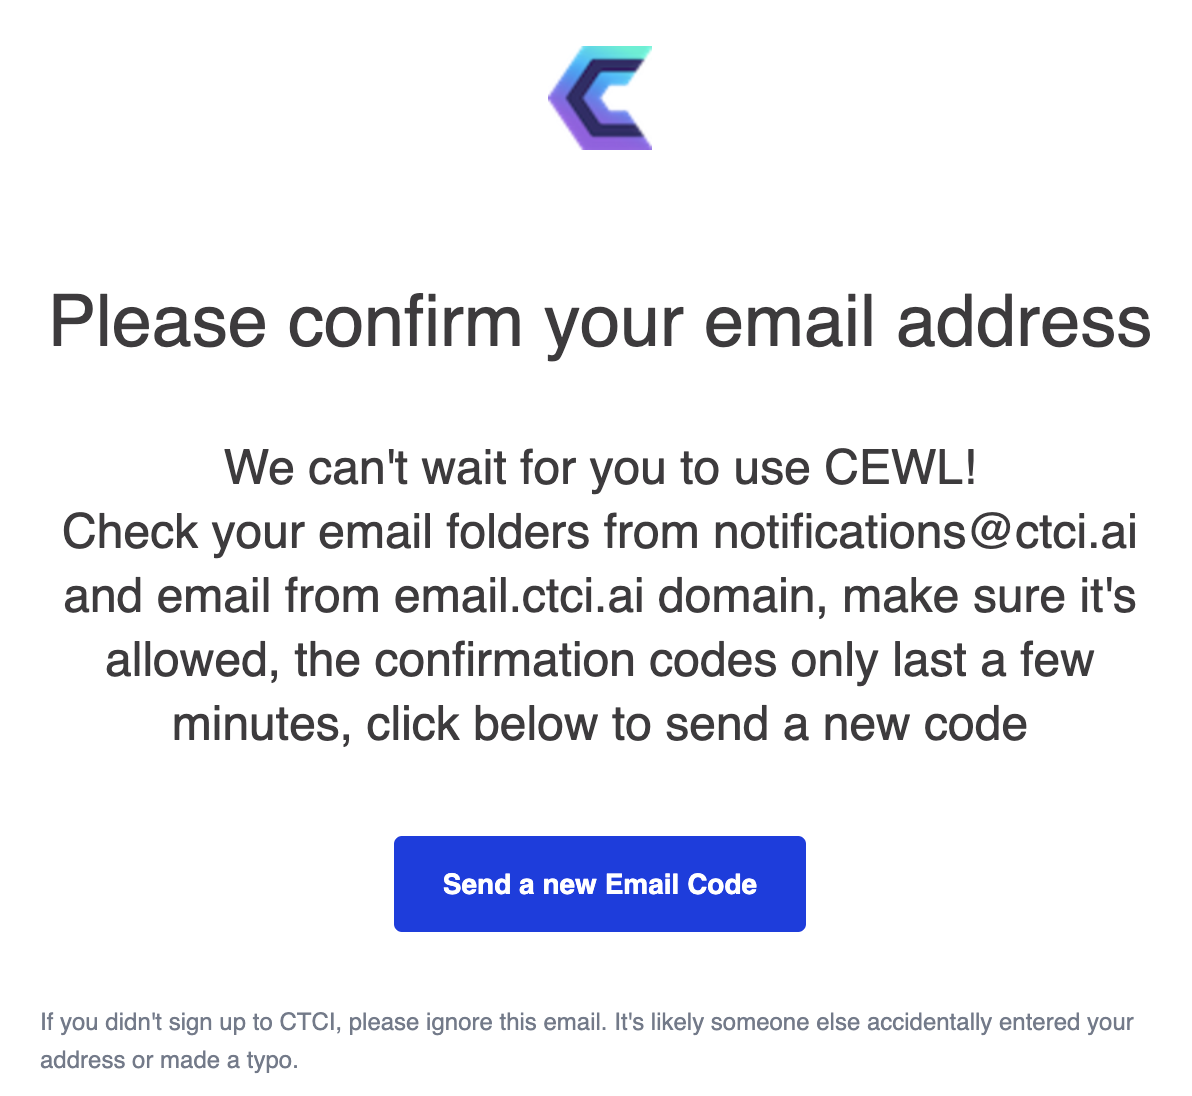
Figure 2, “Confirm Email address”
In your email, you should have something that looks like this:
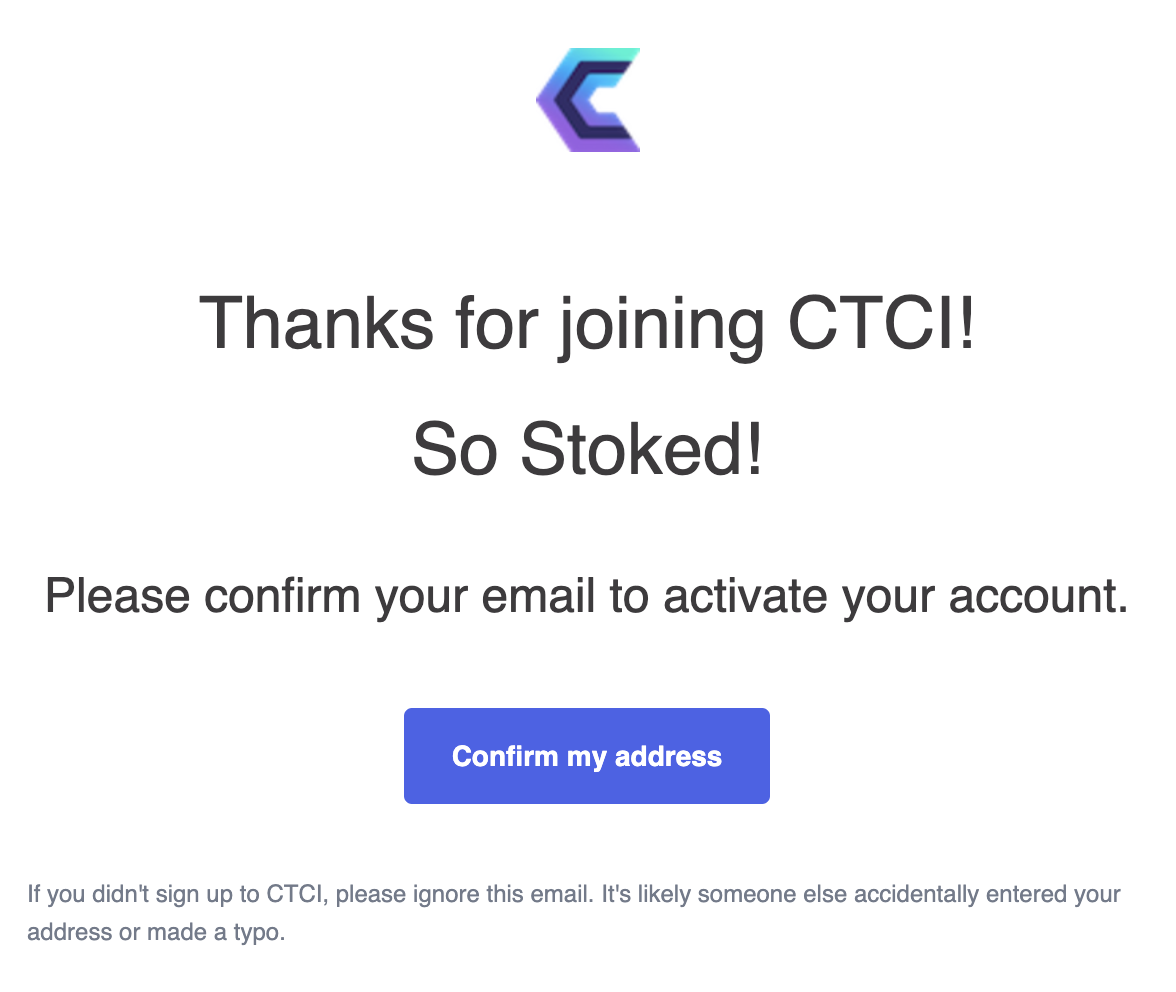
Figure 3, Email to Confirm Address
Confirming your address button will take you to the login page, where you can log in.
Errors on Login
If your username or password is incorrect, you will get the login screen like this below:
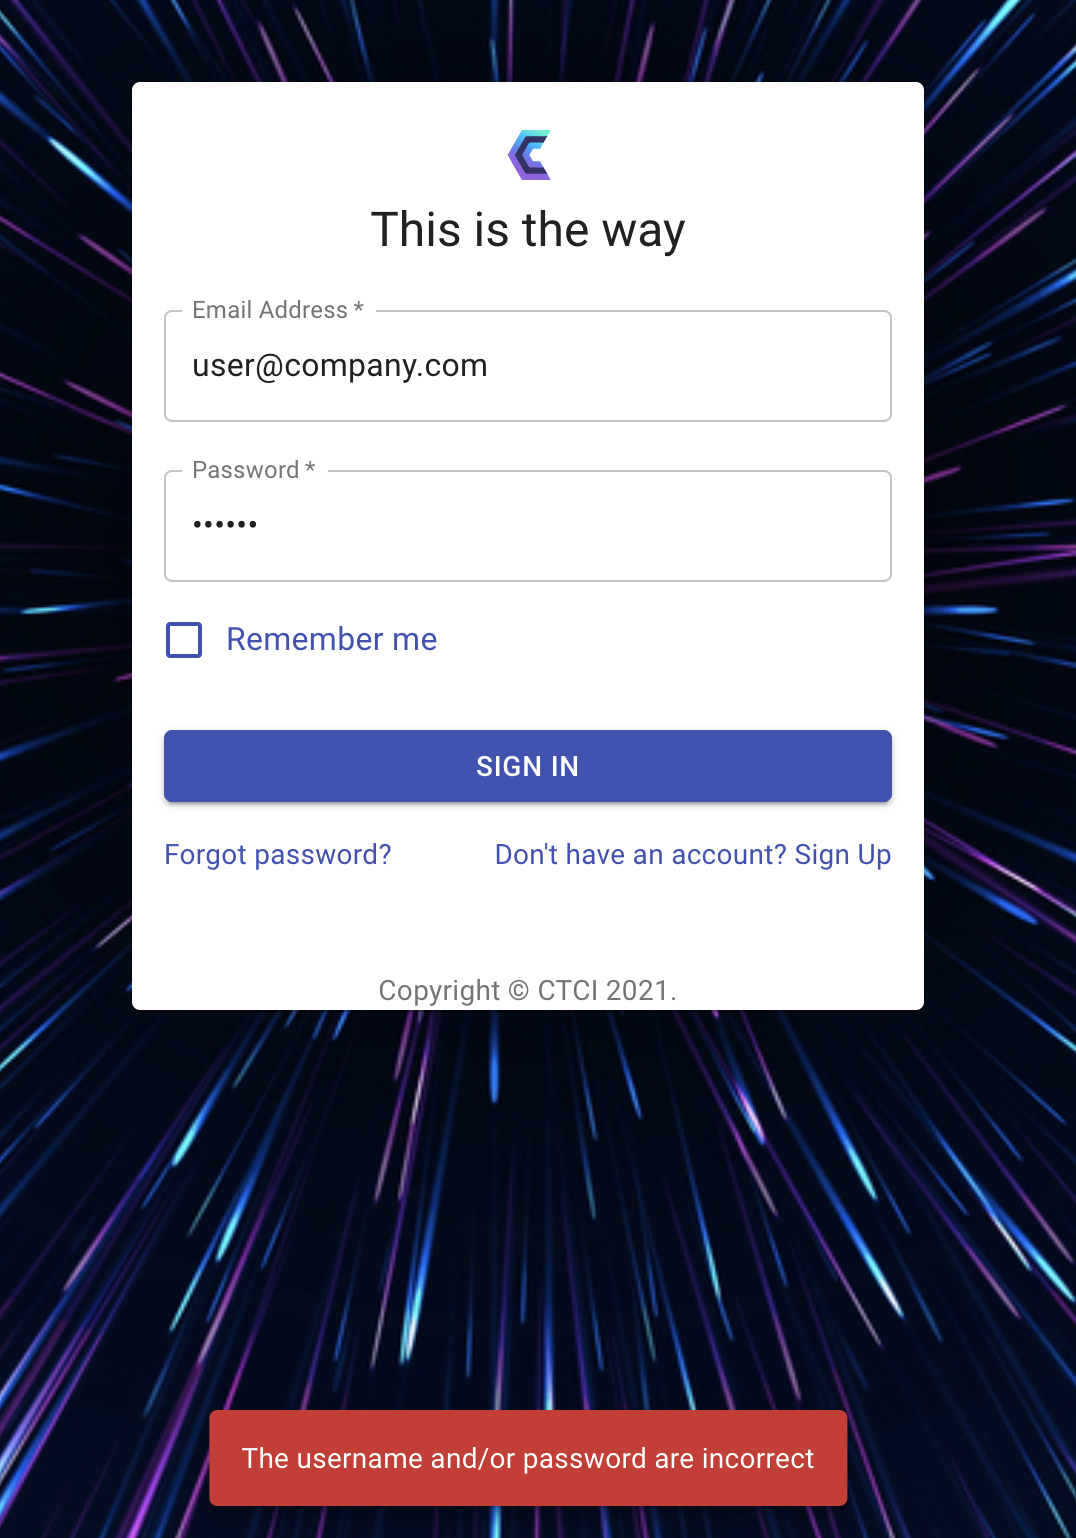
Figure 34, “The username and/or password are incorrect”
Now if If there are other errors from the backend, they will use the red notification box depicted above in Figure 3, 4 at the bottom of the screen as well. Such things as back-end not available will be an error with the description, “Cannot fetch request”request.” The use of this notification box is common throughout the whole application.
Must Change Password on Login
If your administrator has configured the option that you must to change the password at the next login, or you have clicked on “Forget password” and logging in after that then , you will be asked for your old password and new password.
Forgot password
If you have forgotten your password, then a random password is sent to you to your email. You will log in with your normal username and this password. Then you will be asked to change your password immediately, your old password will be this emailed password, and your new password will be a password you decide.
Registration
At the login page, if you click the link “Don’t have an account? Sign up”, you will be taken to the registration page , depicted below. Registration link: https://portal.ctci.ai/#/register
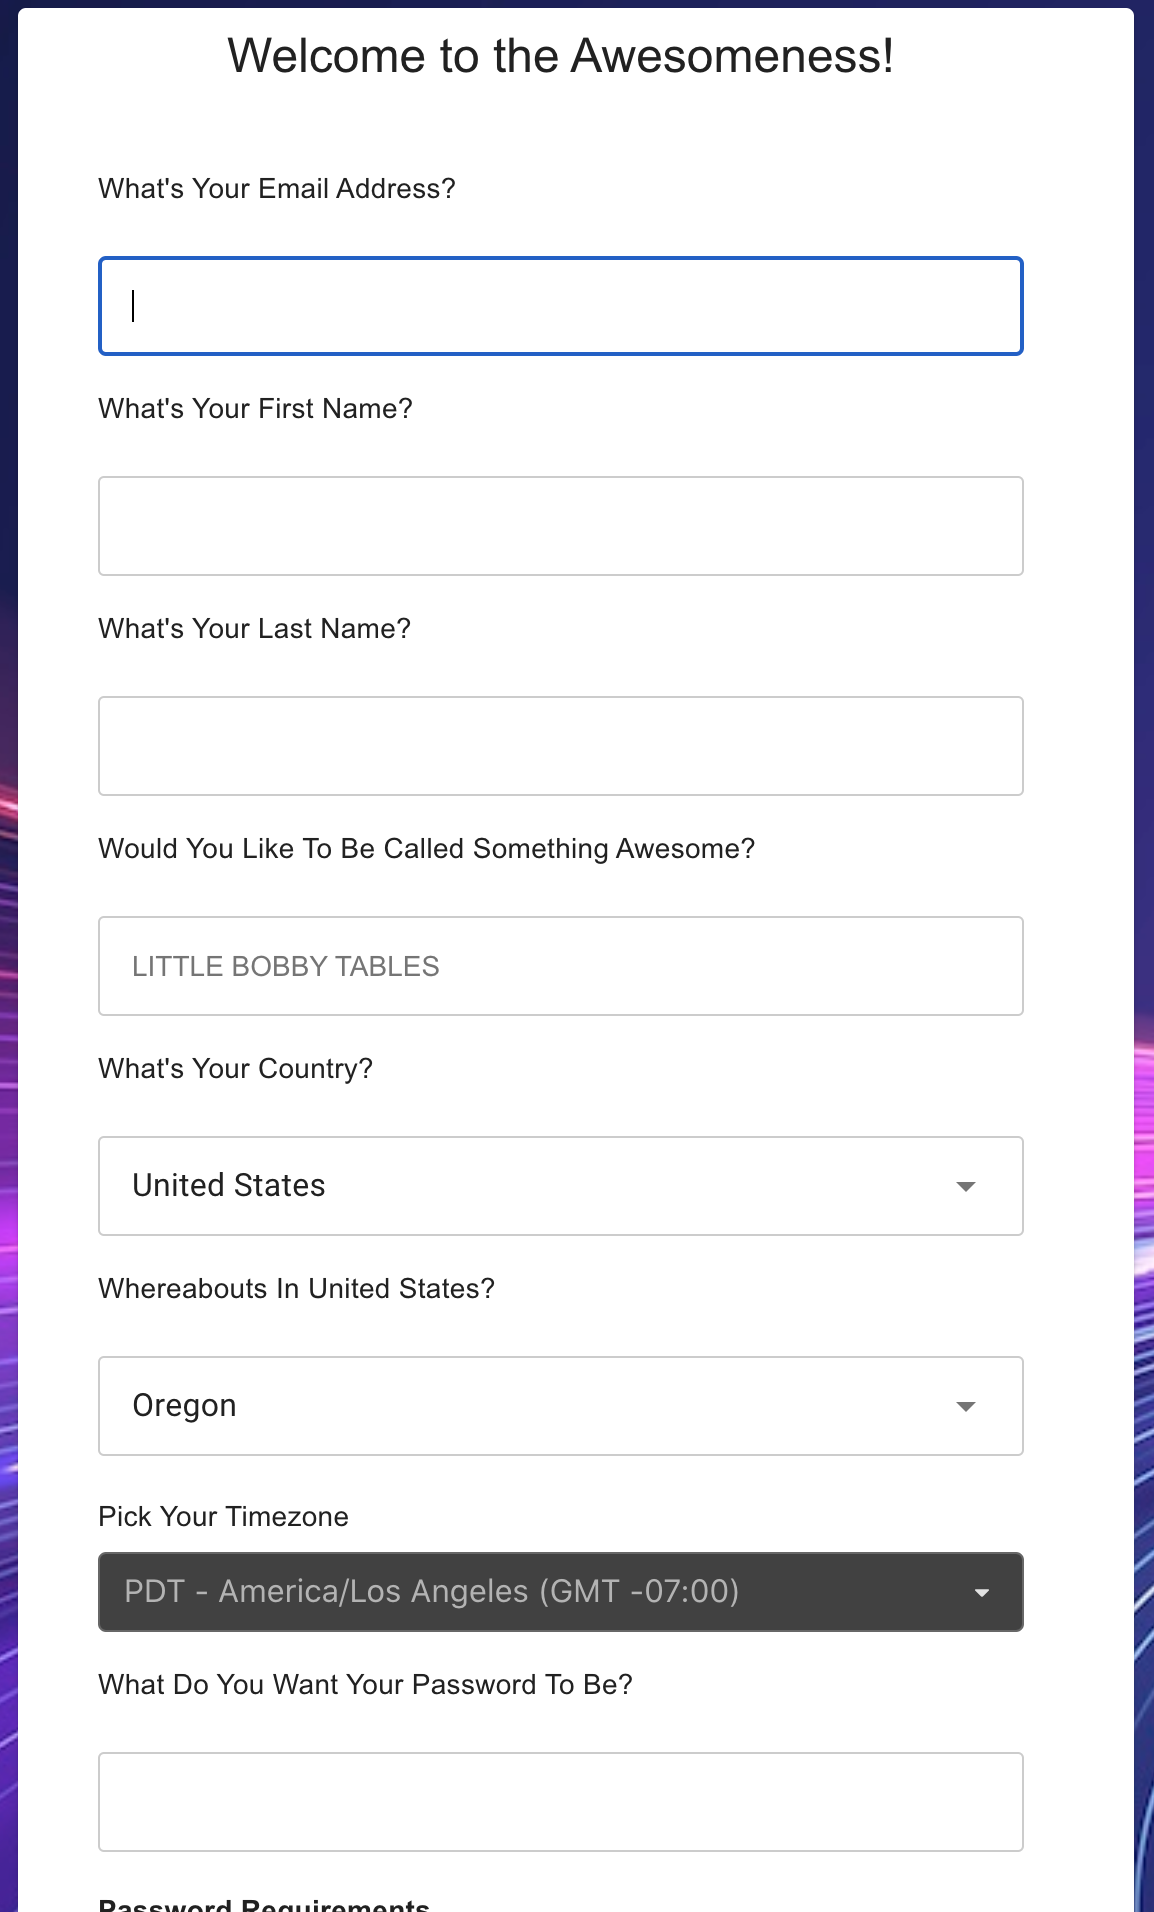
Figure 5, Registration Page
Registration Fields
Some notes on the fields:
Your email address, if you are a part of a company, use your company email address.
The first fame is required
The last name is required
The nickname is not required, however. However, give yourself some awesomeness. Please Note: this is the user name that will be displayed in the upper right menu item. If you change your Nickname, please log out then log back in to see the changes.
The country is not mandatory, but we need it and timezone to ensure the dates and times we send you back are converted correctly from GMT.
The Password needs to meet the password requirements listed below the password.
Accept Terms and conditions, the Terms and conditions are located here *** here ** for reference https://www.ctci.ai/terms-and-conditions
Portal UI Components
Menu Options
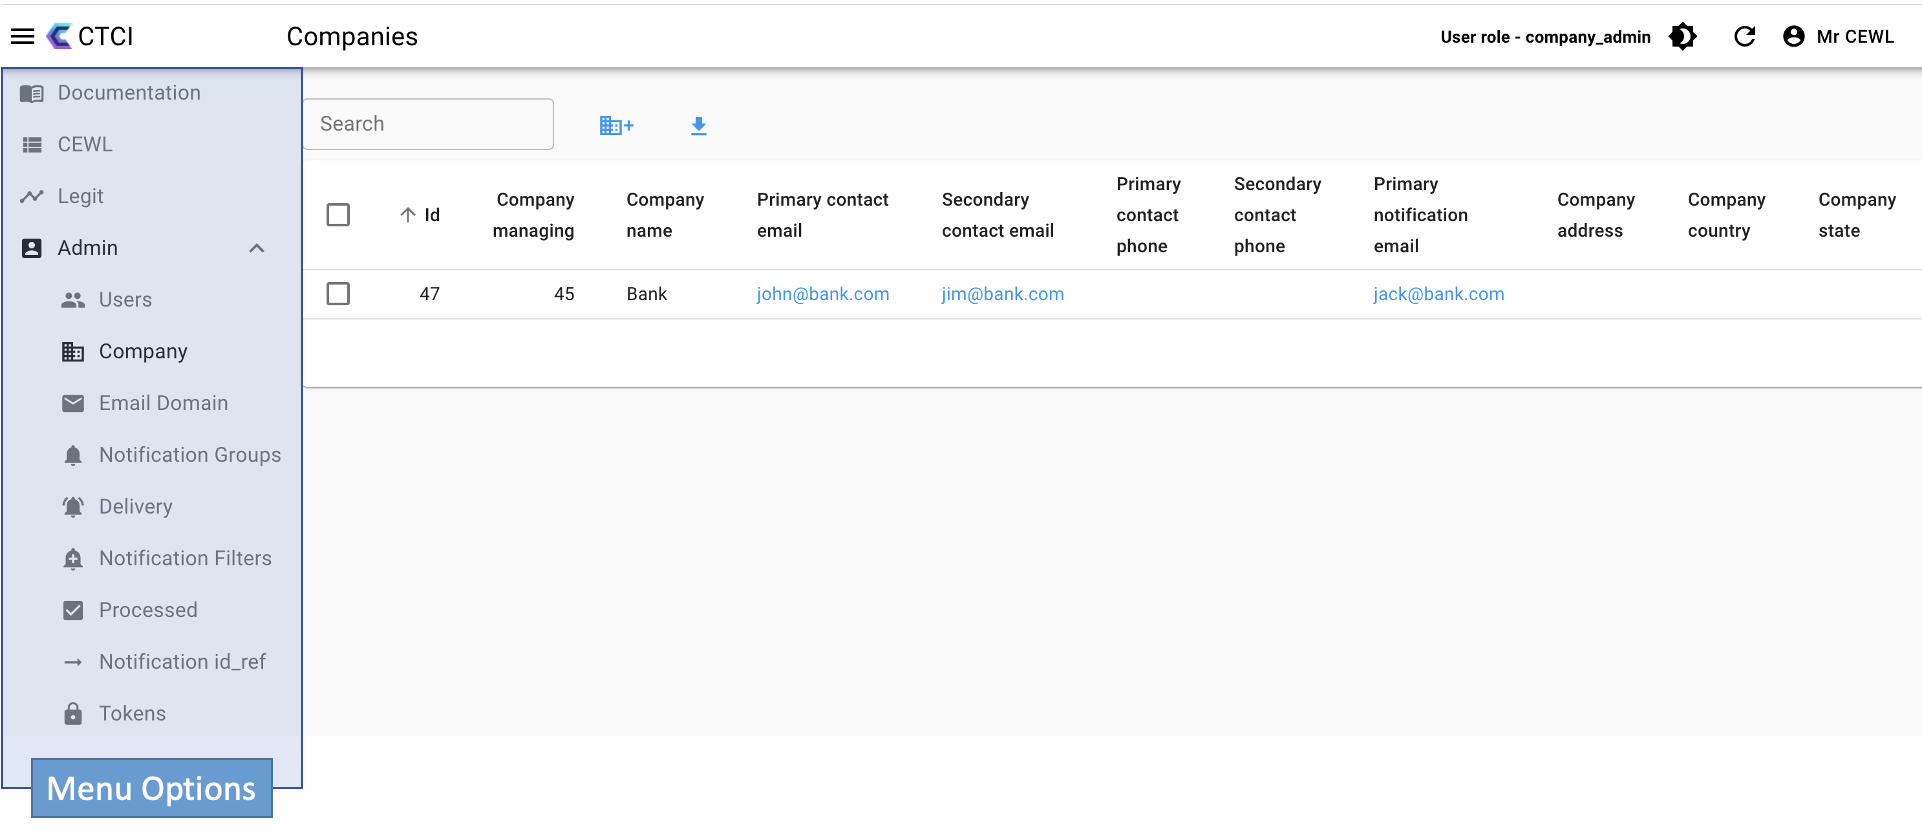
On the lefthand side, there are menu options. Documentation is the landing page for logging into the CTCI Portal. The Admin menu can be expanded and contracted by clicking on the ^ character.
What you have selected
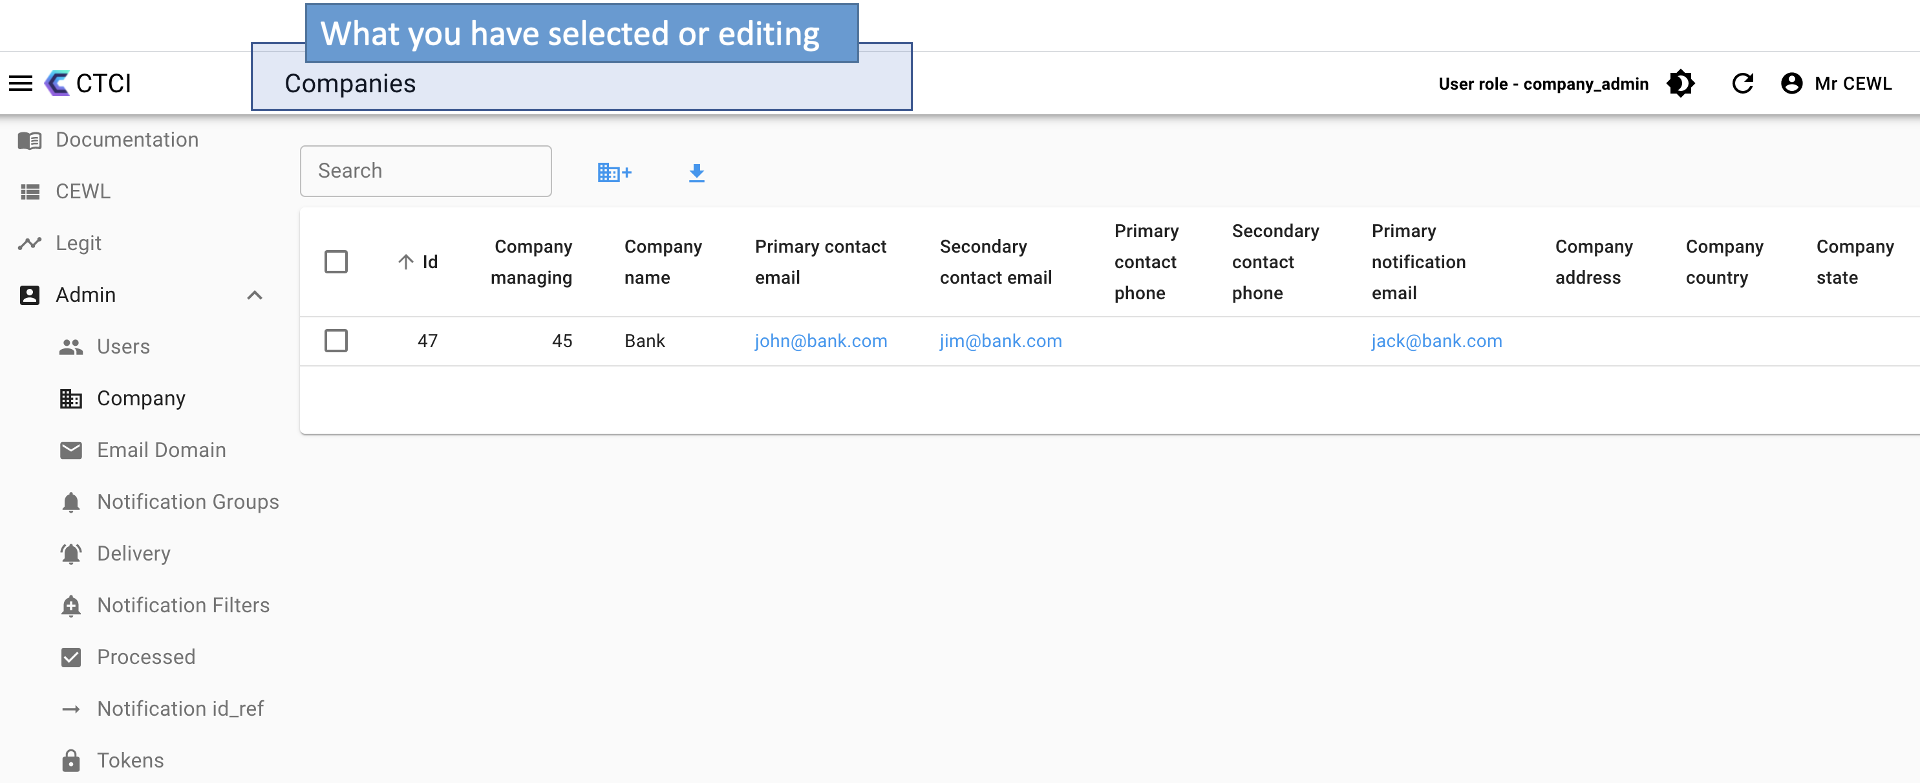
This changes based on what is selected, what is being edited, and such. It’s easy to see what I am doing by looking at this navigation hint.
User Role
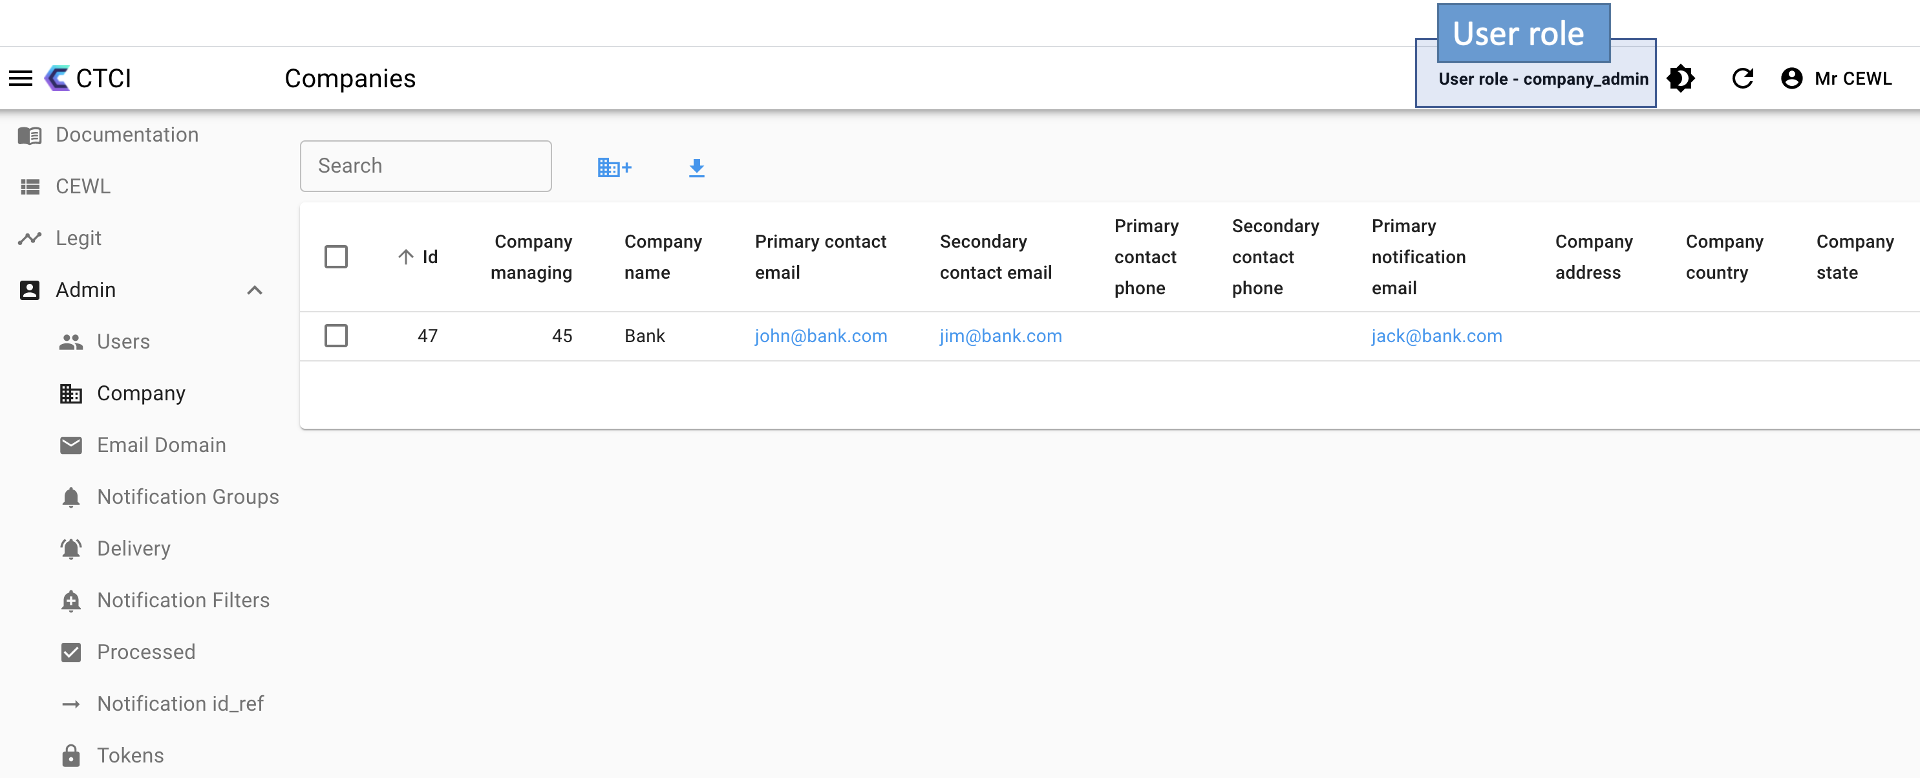
User role the user is currently. For companies, there are four types of users: company_admin, admin, auditor, and user.
Roles
Role | Details |
|---|---|
company_admin | Can manage the company and partners |
admin | Can manage users within the company |
auditor | read-only for the company |
user | can do most functions except for admin functions on users and company updates. They can create notification filters, notification groups, and notification deliveries. |
Dark/Light Mode
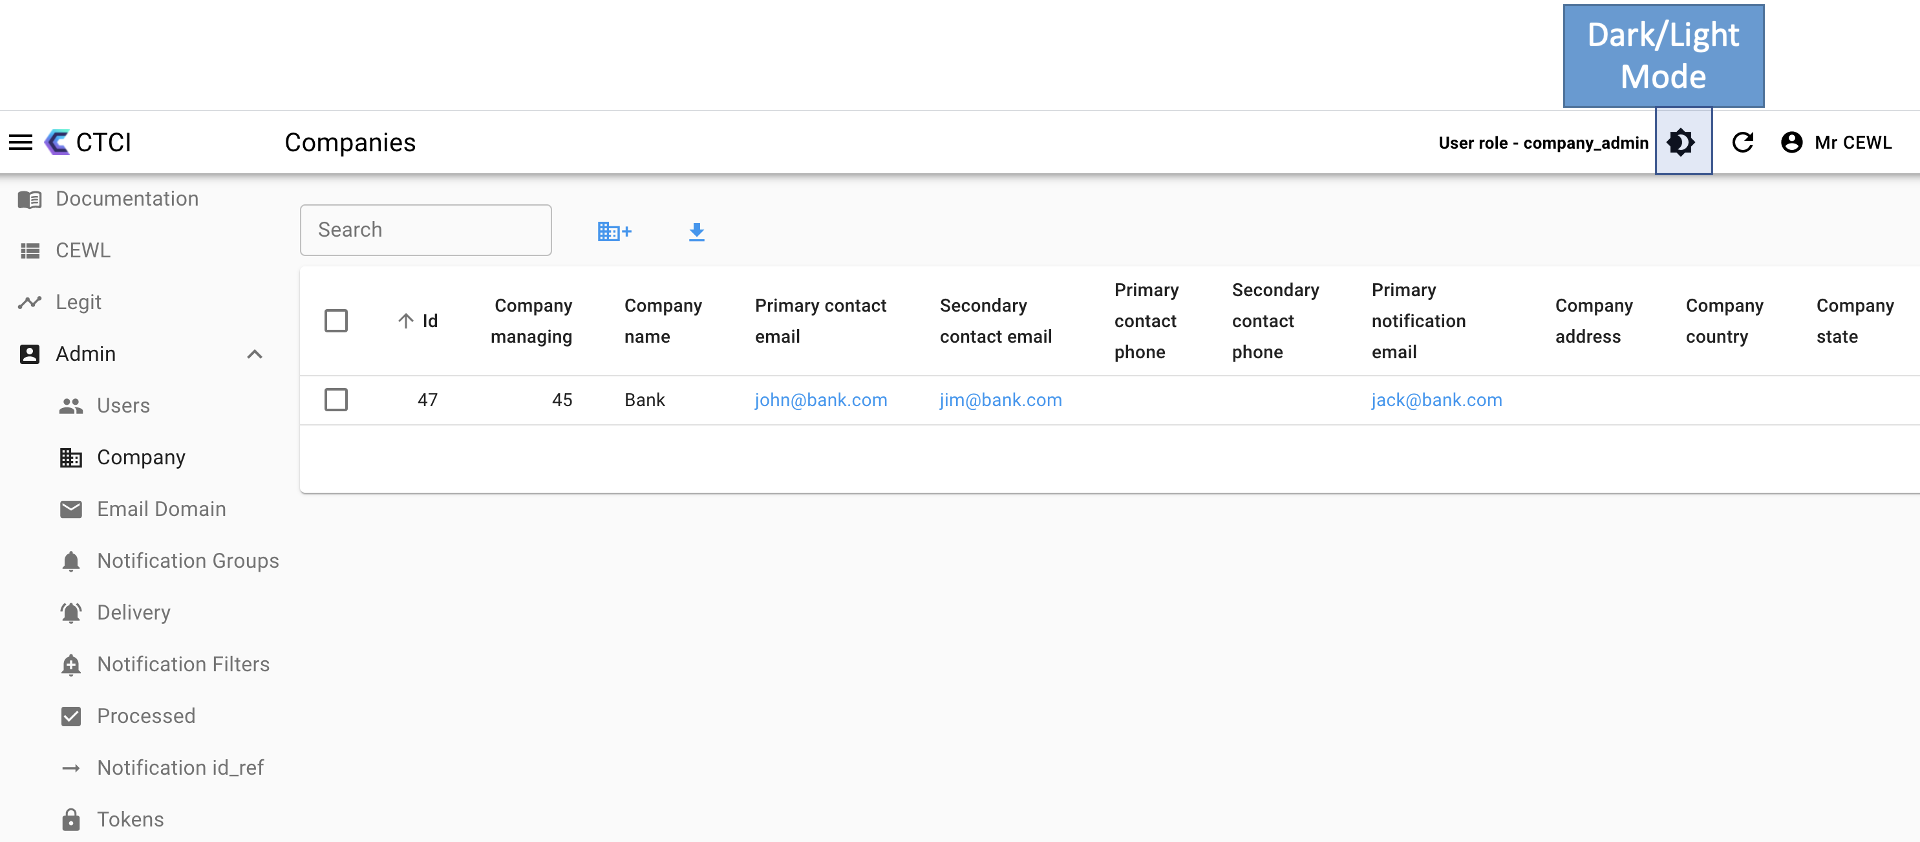
This is to toggle between dark and light mode.
Name/Nickname
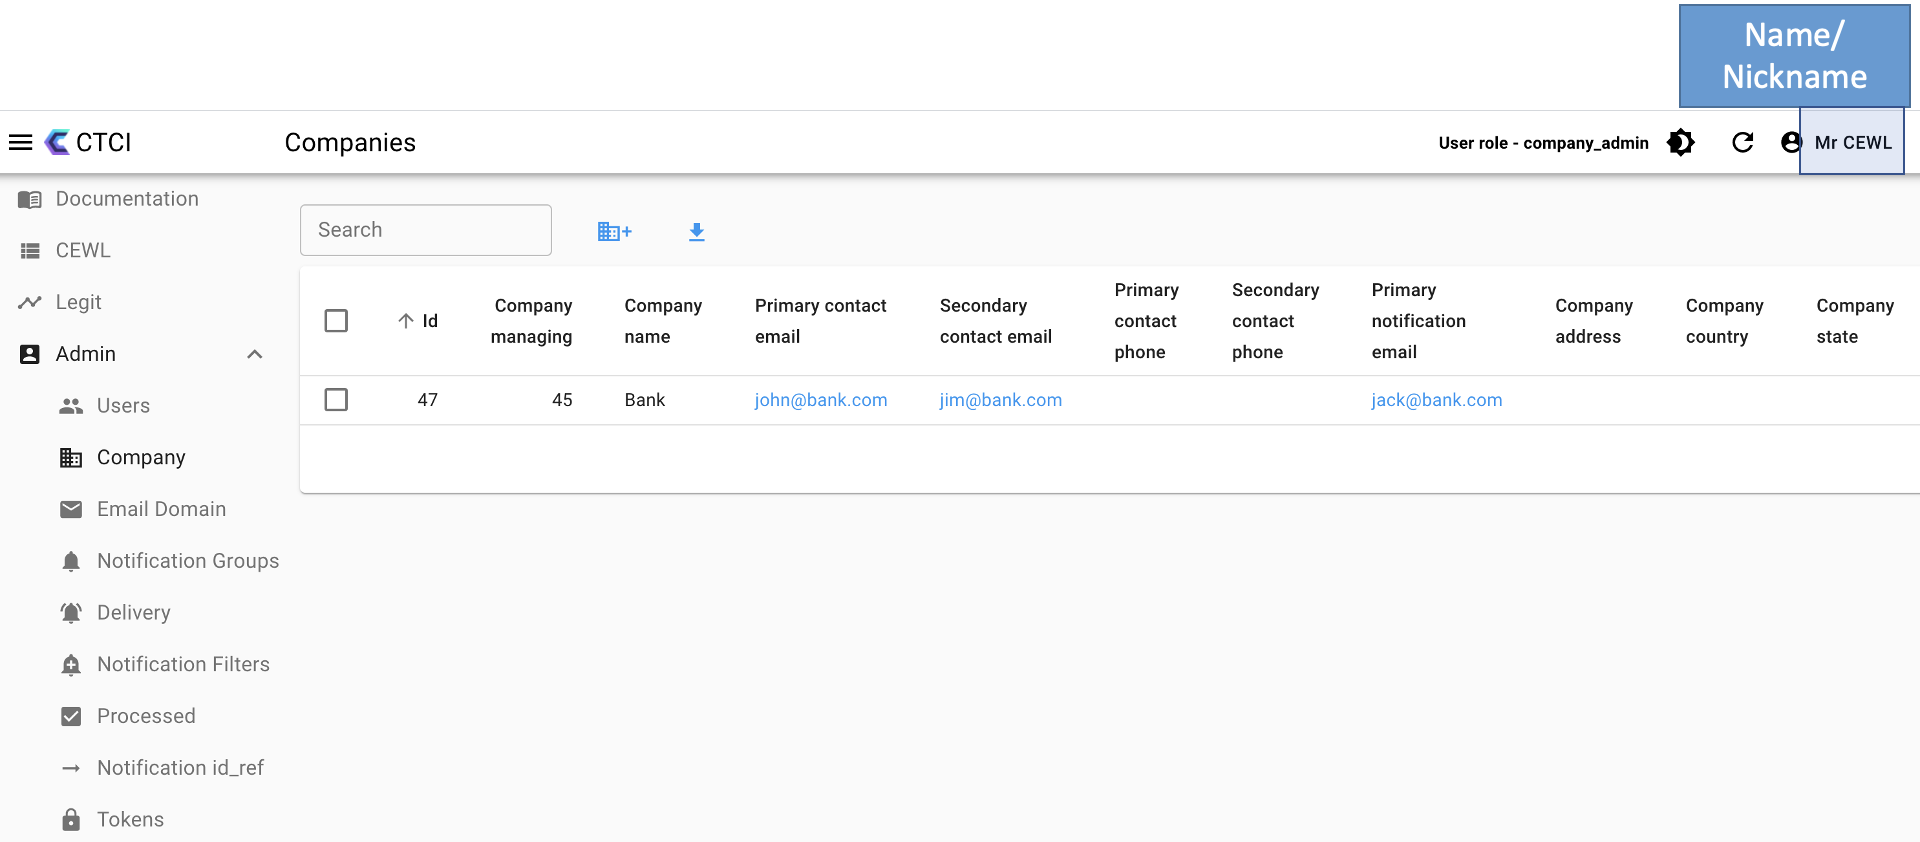
This is your name or nickname. If you change your name or nickname, you need to log out then back in to see the change.
Search
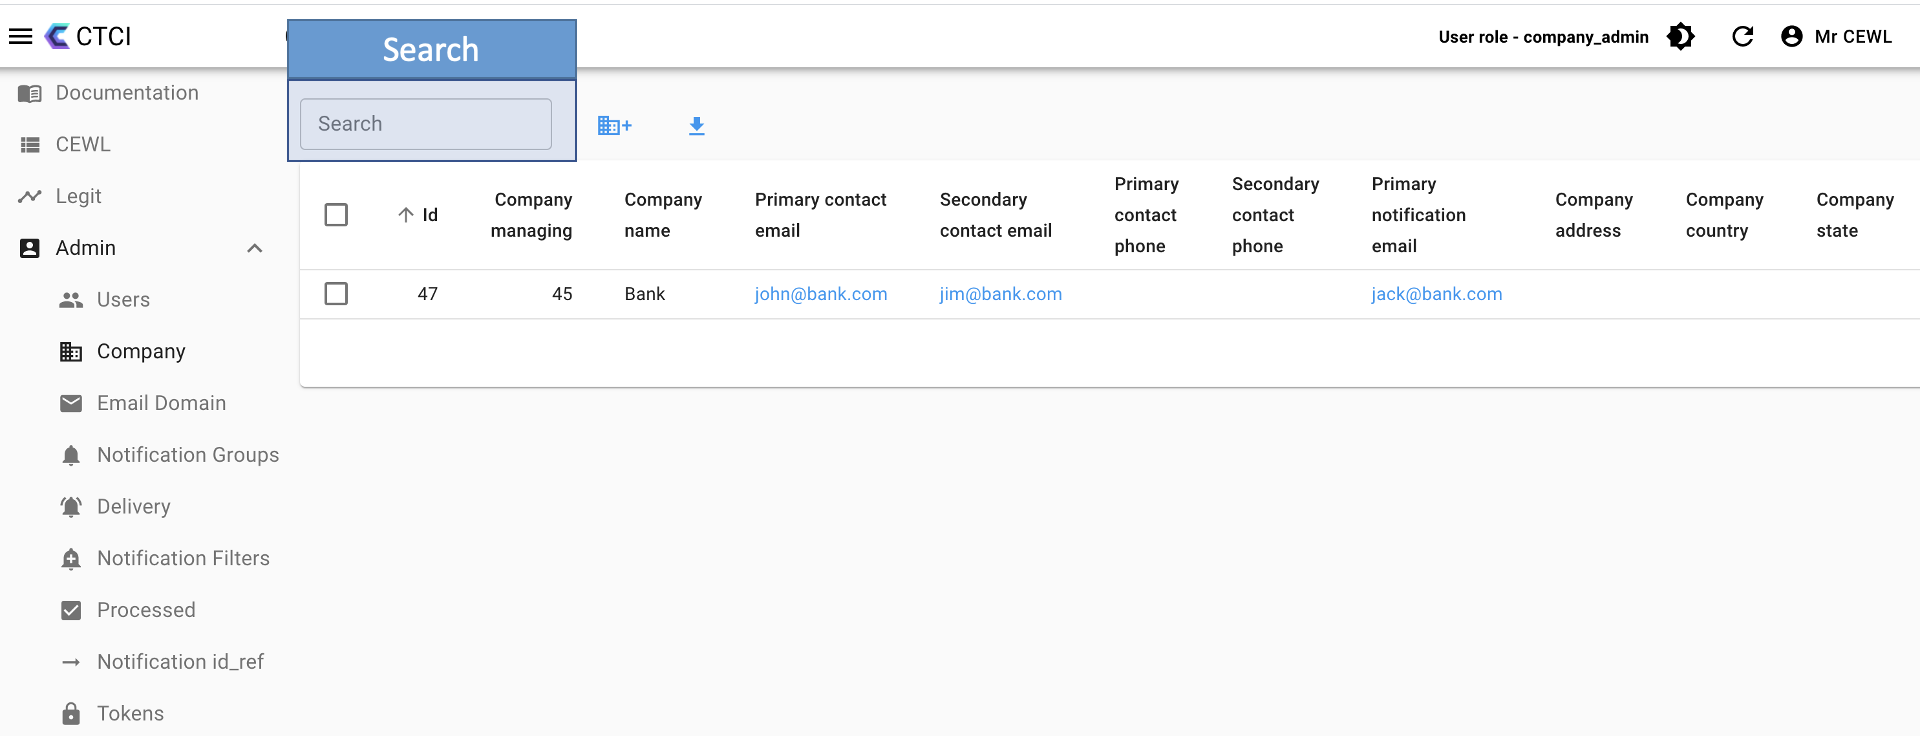
This is the search of one of these entities. This search gets all entries and does a keyword search to find if the keyword is found in any entry.
Create
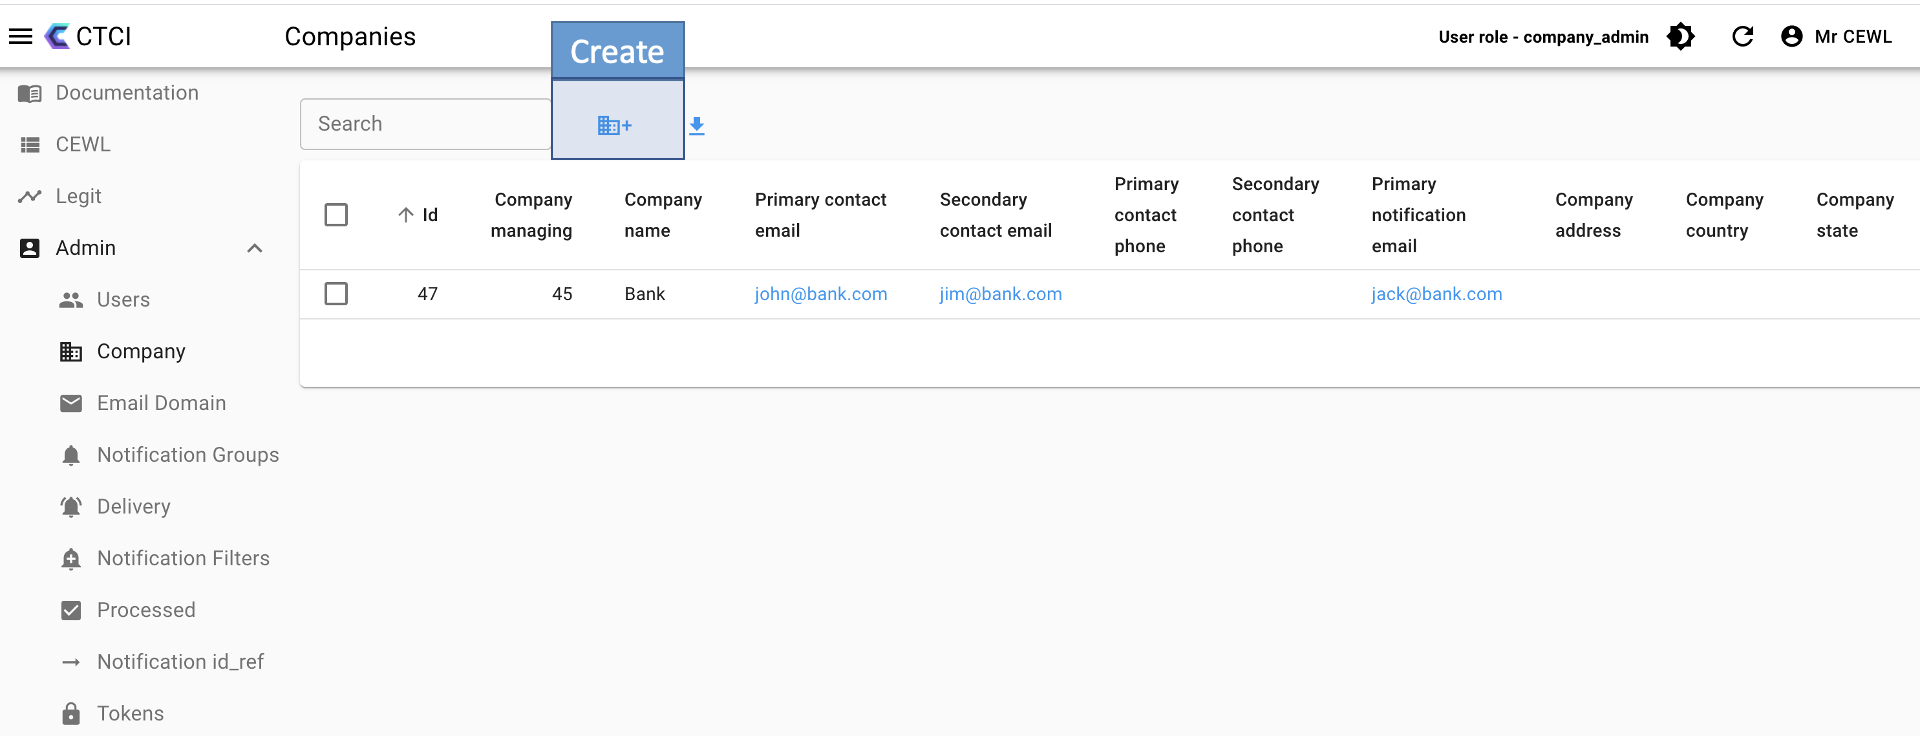
Create icon buttons that match the menu options with a plus sign added. There are pages for each of these entities and what the entities do.
Download
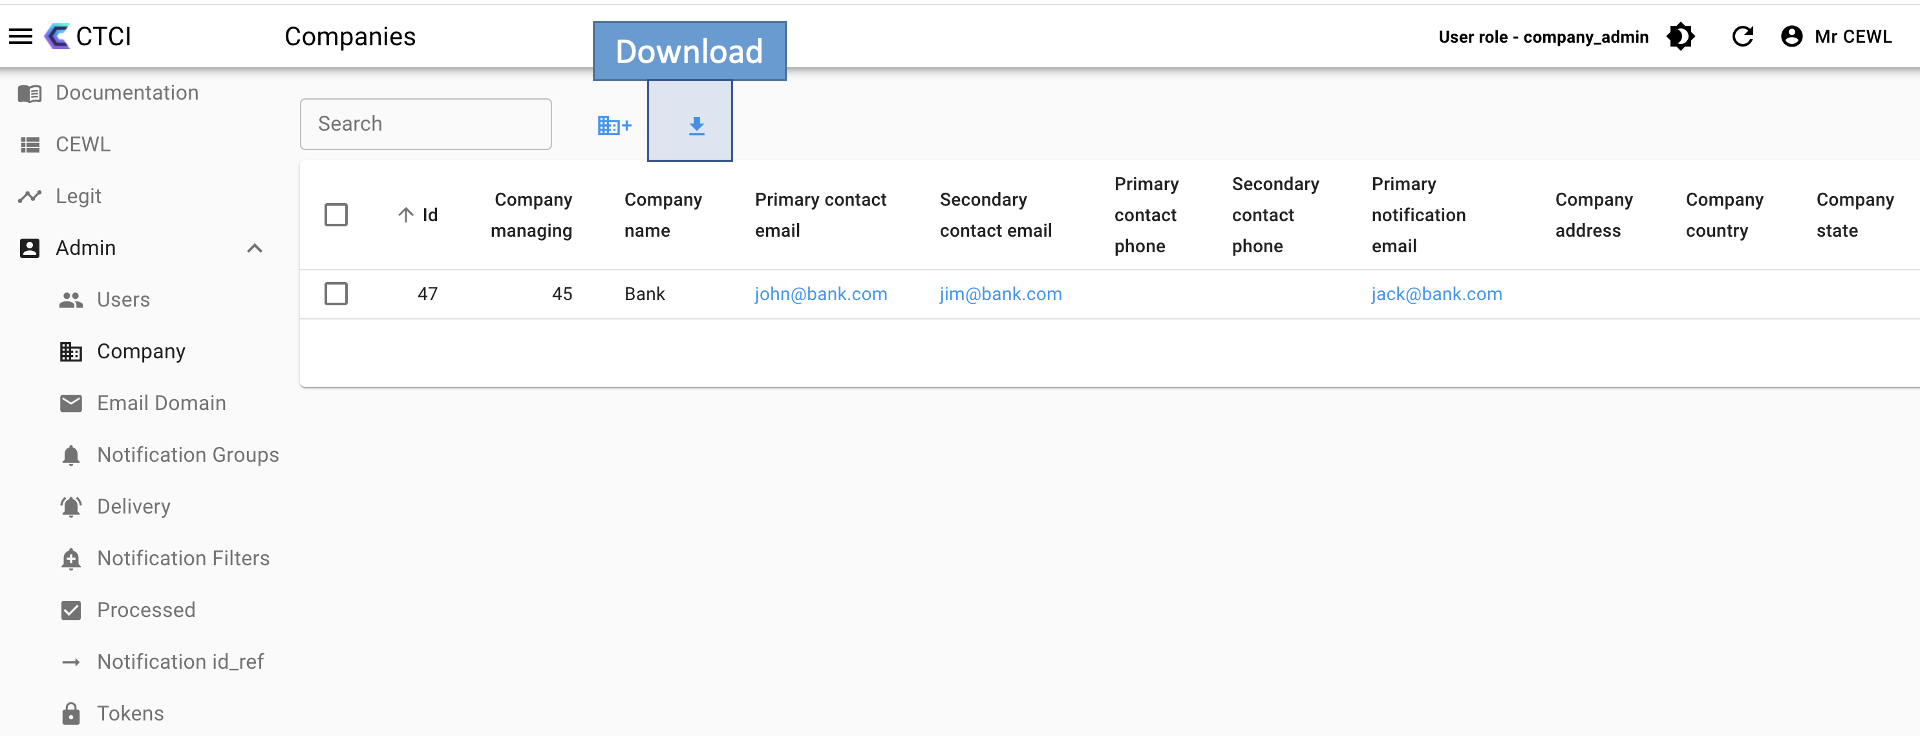
This downloads the current entries shown within the list.
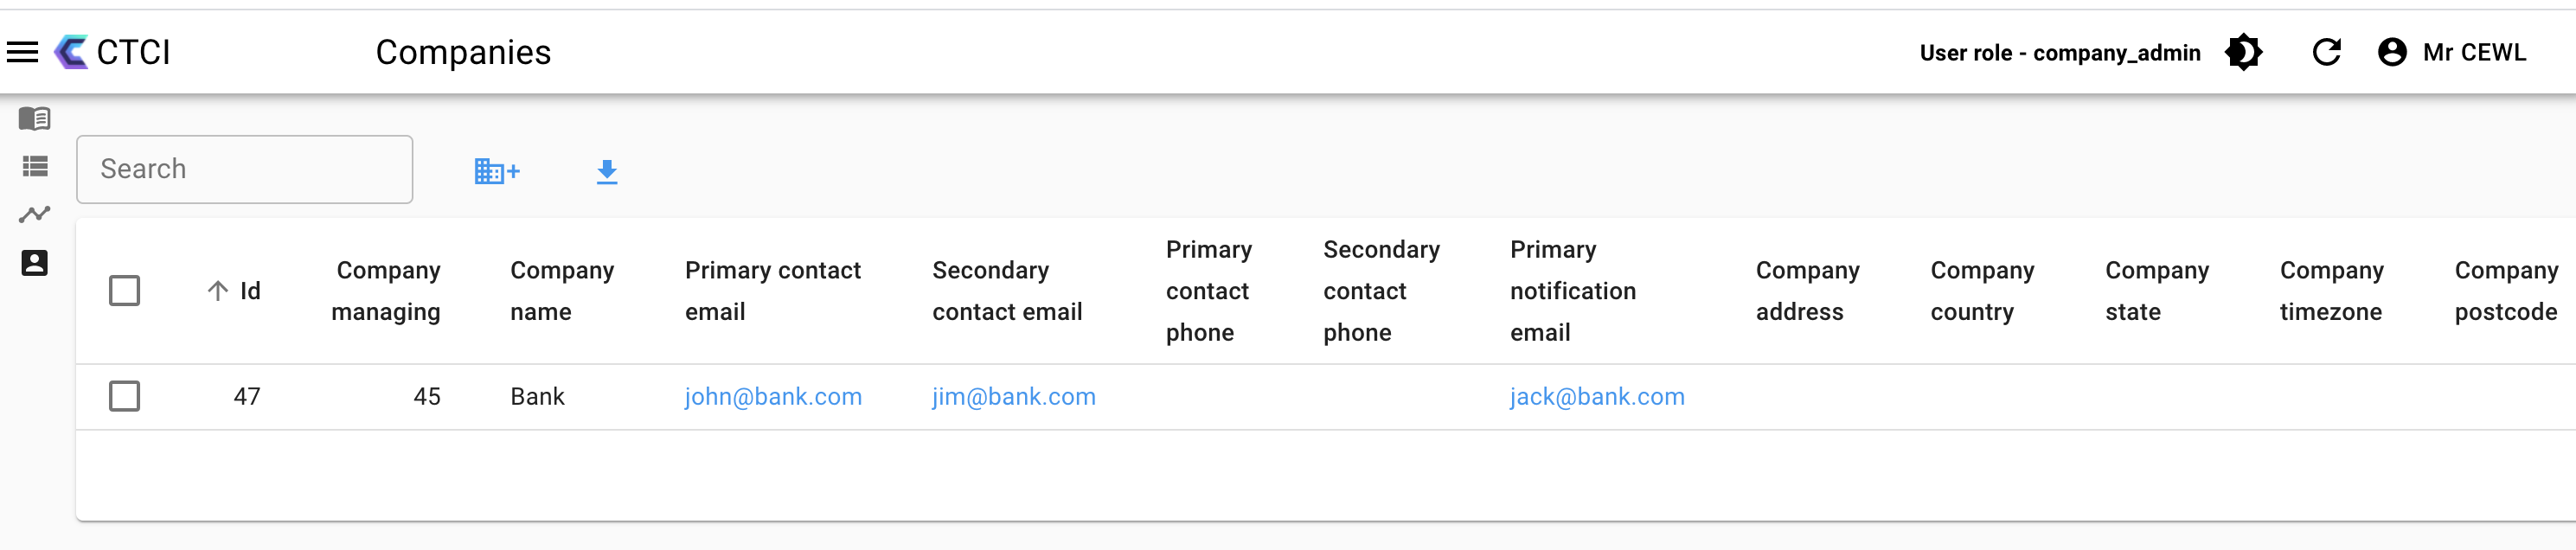
List Mode
Shows all the entries as a list.
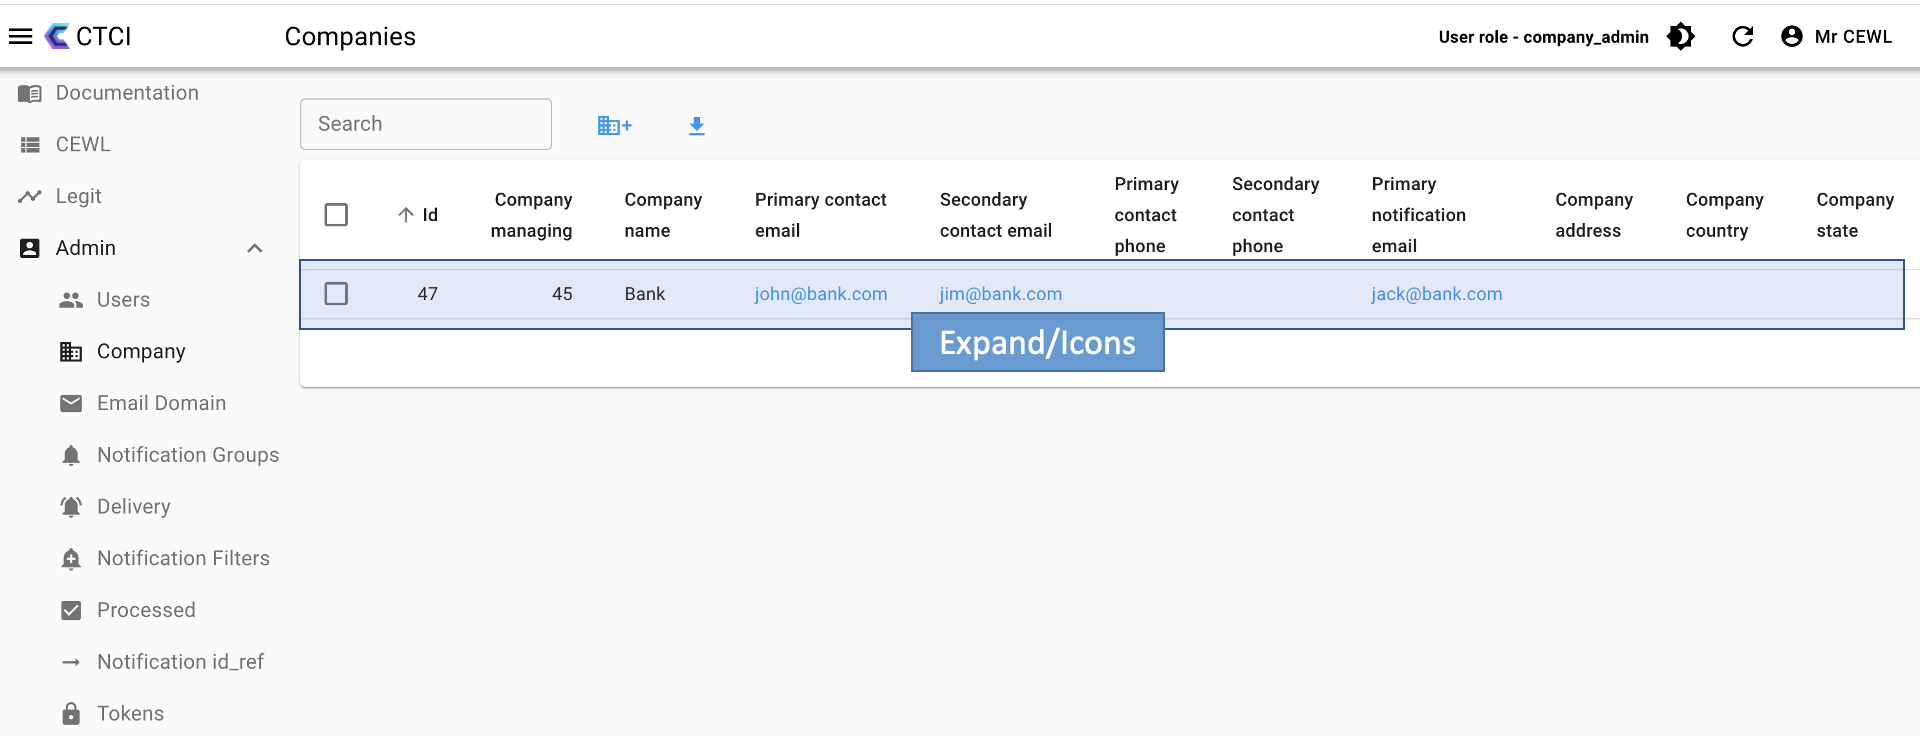
Select List Entry
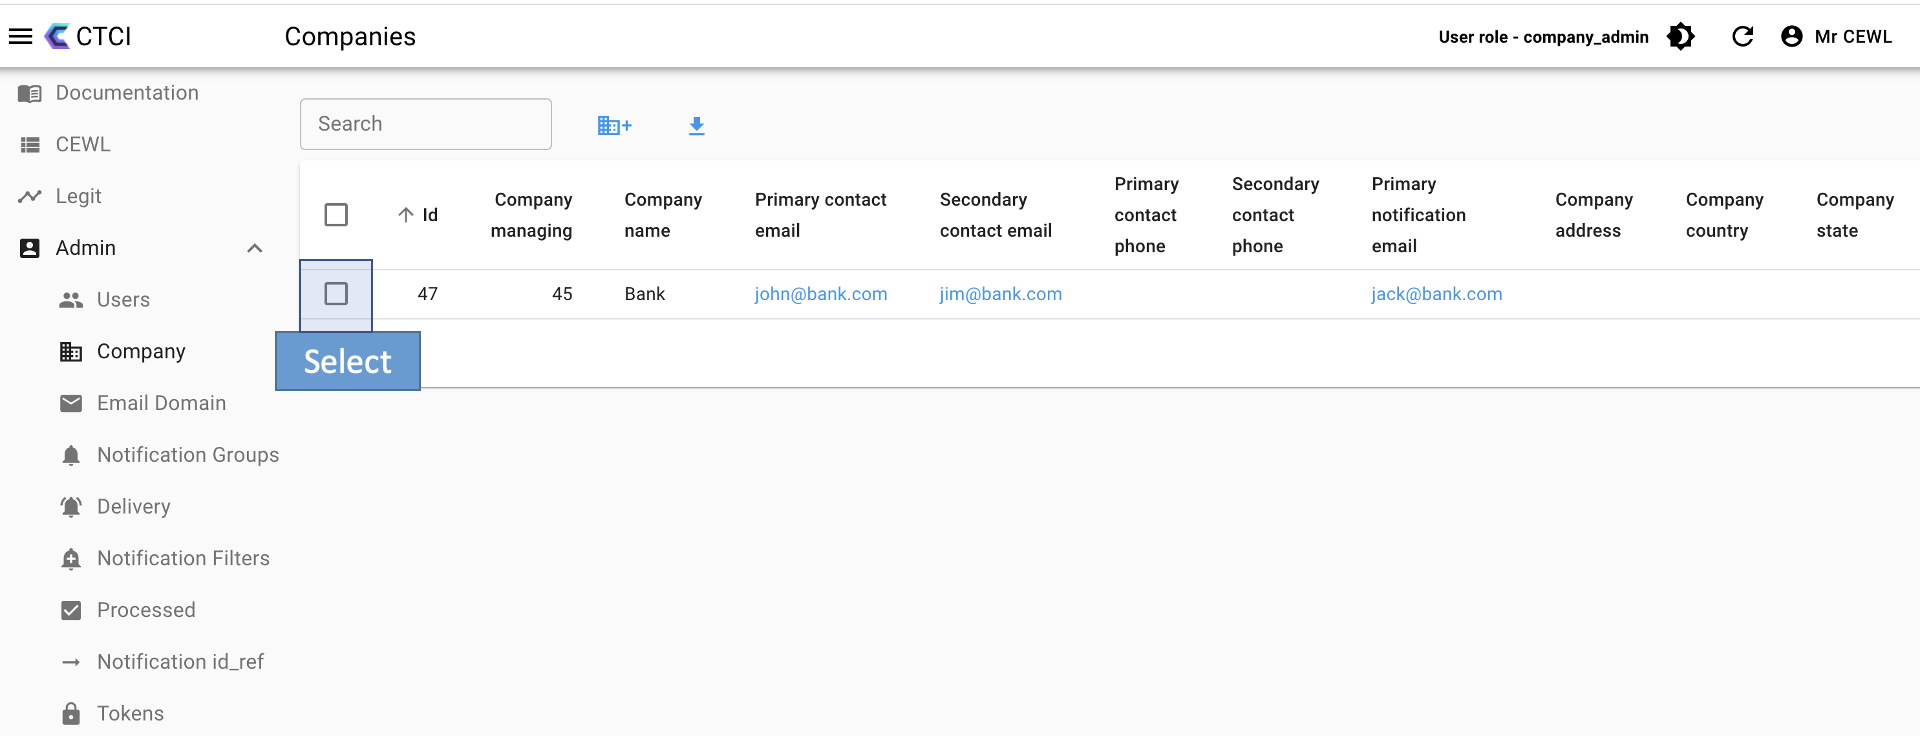
This allows you to select an entry in the list. You can also click on the blue entry terms to go to other entities, email a person, etc.
Expand and Shrink menu
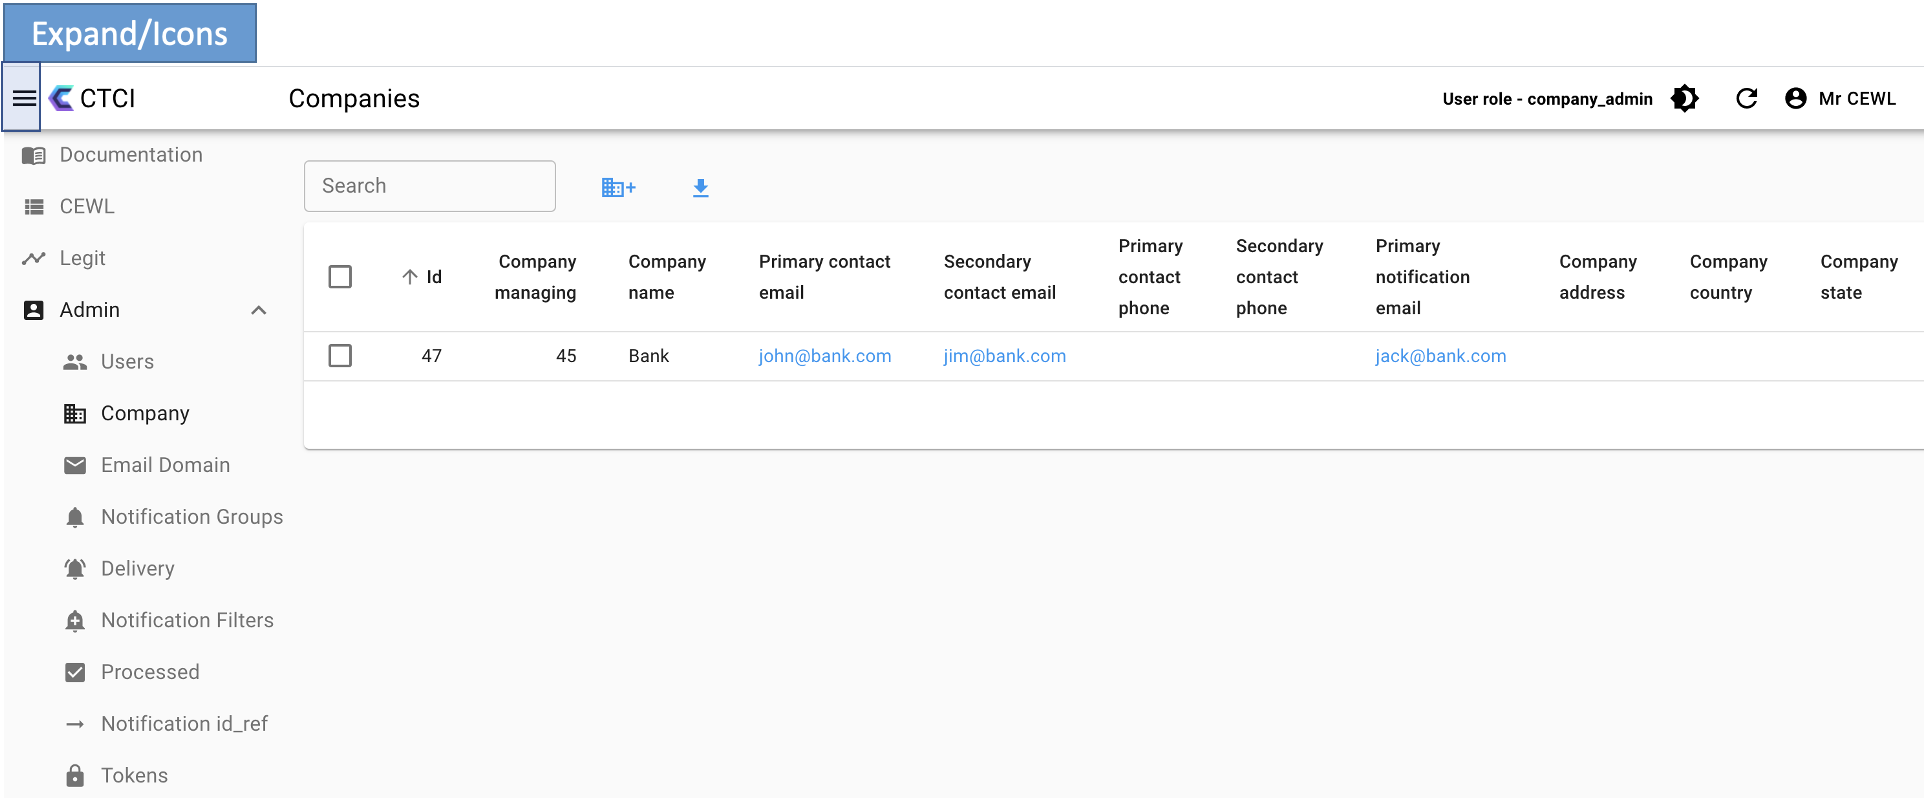
Clicking on the three lines will expand or shrink the menu options to the icons. In the shrunk menu options shown below, notice that you can see more columns in the shrunken mode. When you click in list mode, it goes to a read-only show mode unless you click the checkbox and click edit.
Show Mode

Show mode is a read-only mode to view all the data better. To edit the entry, click edit. To go back to list mode, click the back button.
Edit Mode
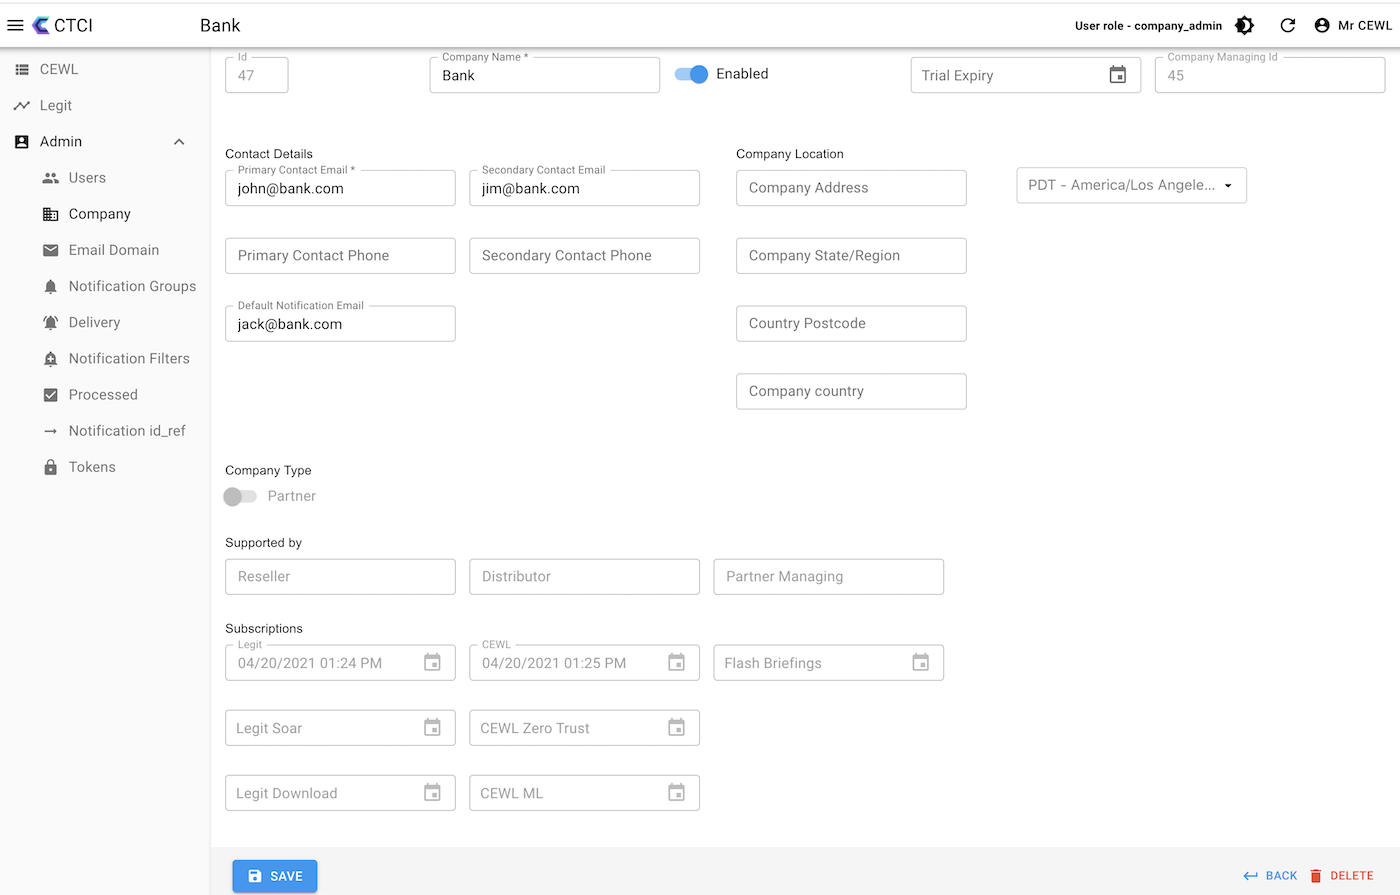
This mode is to edit the entity selected from the Admin menu options.