Tokens can be thought of as API Tokens. Tokens can be set with different roles that allow read-only tokens, and tokens for management, and tokens for CEWL.
Some important considerations
API Tokens cannot be used to interactively log in to the Portal.
When a company is created, you usually have three tokens create:
Subscription token
Management token
Company Admin token
API Tokens are generated securely on the back-end, you cannot edit the API token.
Some useful links:
API documentation, please see below.
Users API
Please refer to swagger.ctci.ai for more details.
Users within the CTCI Portal
Select the menu option, Users.
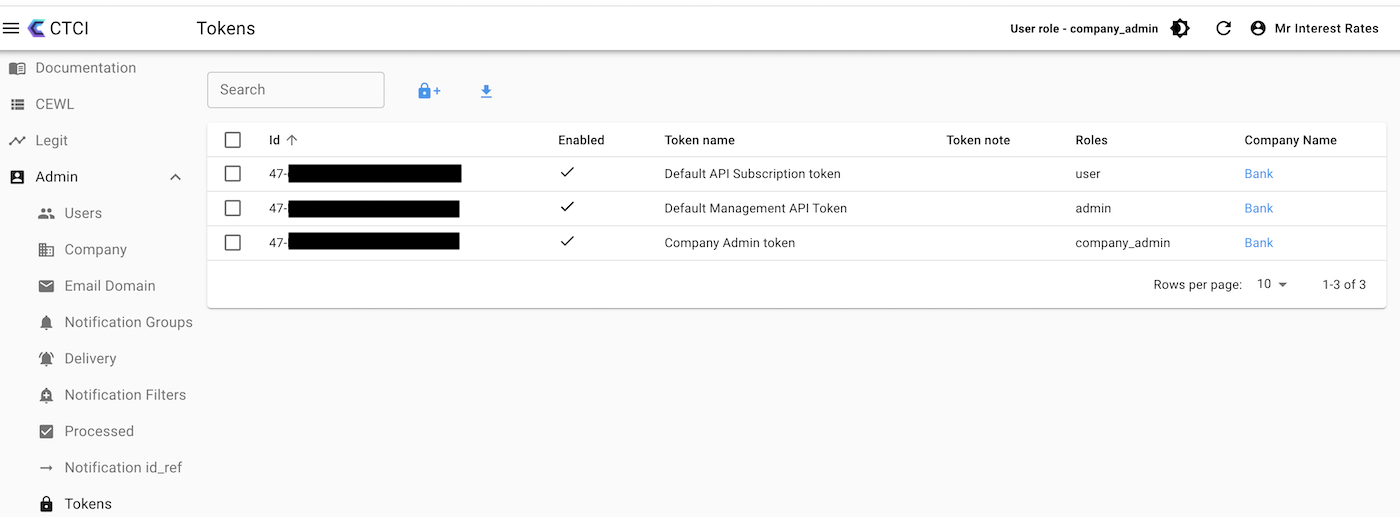
Figure 1, Users Menu Option
The Users icon is two people overlapped.
A User can be created by clicking the icon with the plus sign. It should look like something below.
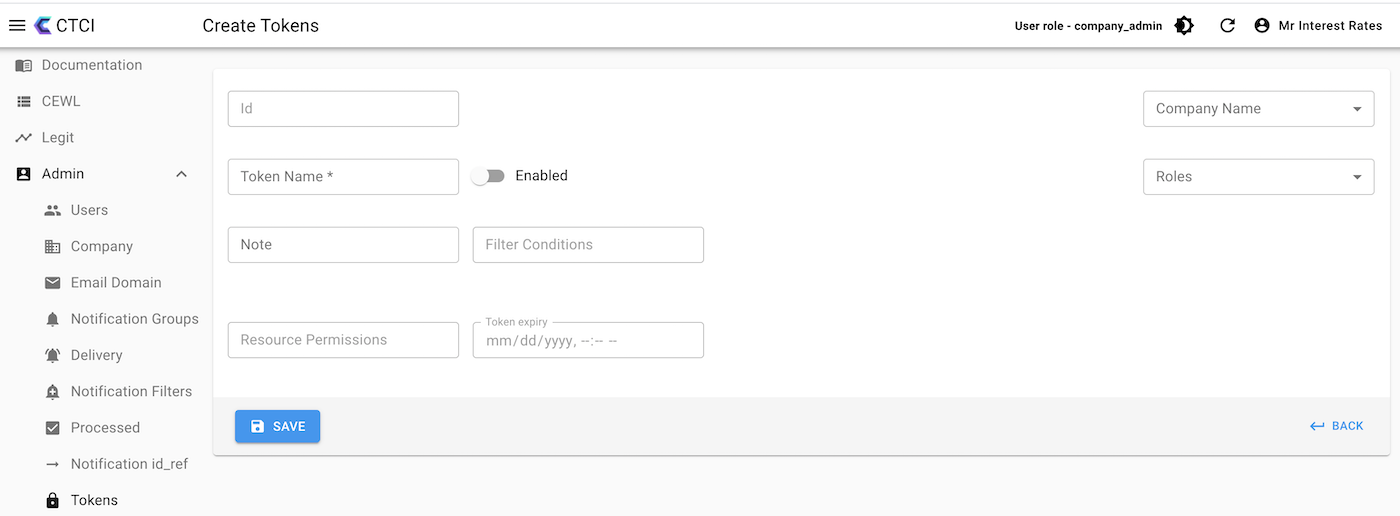
Figure 3, Create a new User
The Id value is an internal reference value to its location in the store. The Save button is self-explanatory. The back button goes back to the list of API tokens.
Field Name | Details |
|---|---|
Id | Internal value - you can ignore |
Company Name | You can leave this empty, and it will take your current company. If you are managing many Partner companies, you can set it to one of these companies. |
Token Name | This is the name you would like to call your token. It is required |
Note | This is a note for the token, and it is always handy to have a note to jog your memory, why this was created, and what systems/processes use this token. |
Roles | This is what role the token will impersonate. No privilege escalation is allowed. You cannot create tokens for which you don’t have that role already. |
Enabled | Whether the token is enabled or not |
Filter Conditions | Future - to support the API token only allowing a certain search filter |
Resource Permissions | Future - This will allow more granular access to columns and entities |
Token Expiry | Future - This would allow you to expire a token after a certain amount of time. |
How to Edit a User
Go to the list of Users by clicking on the User Button, as mentioned in Figure 1.
Click on one of the entries.
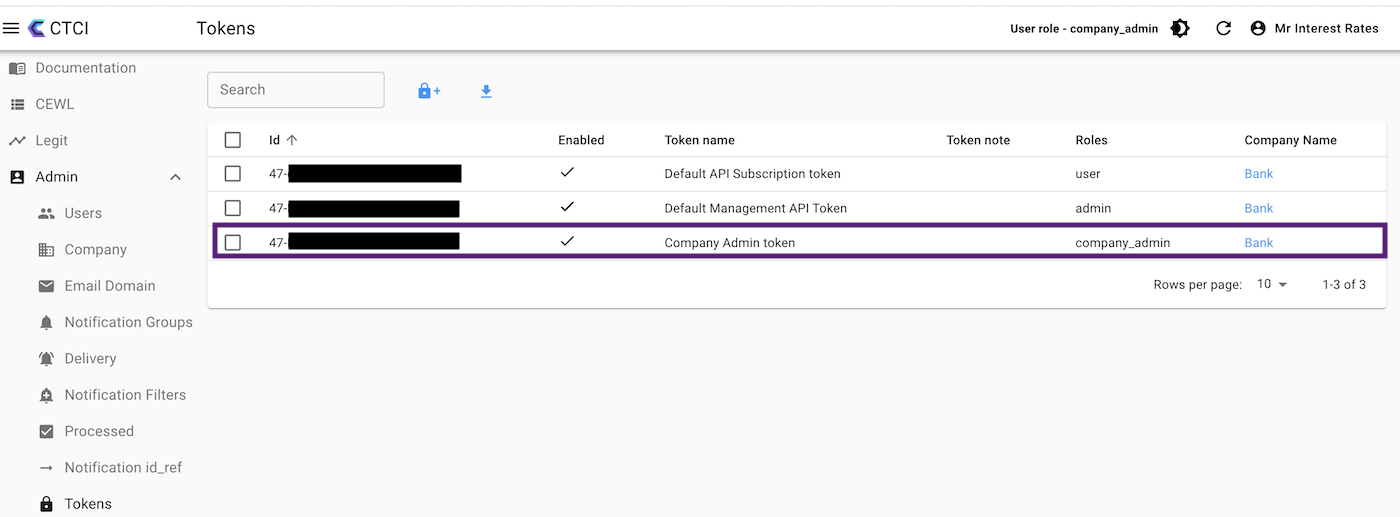
Figure 4, Select a User to Show or Edit.
The next page shown will be the show page. It shows all the details. To Edit, you must select the edit page. The reason we do this is to stop accidental changing of the data. Most of the time, you will set and forgot.
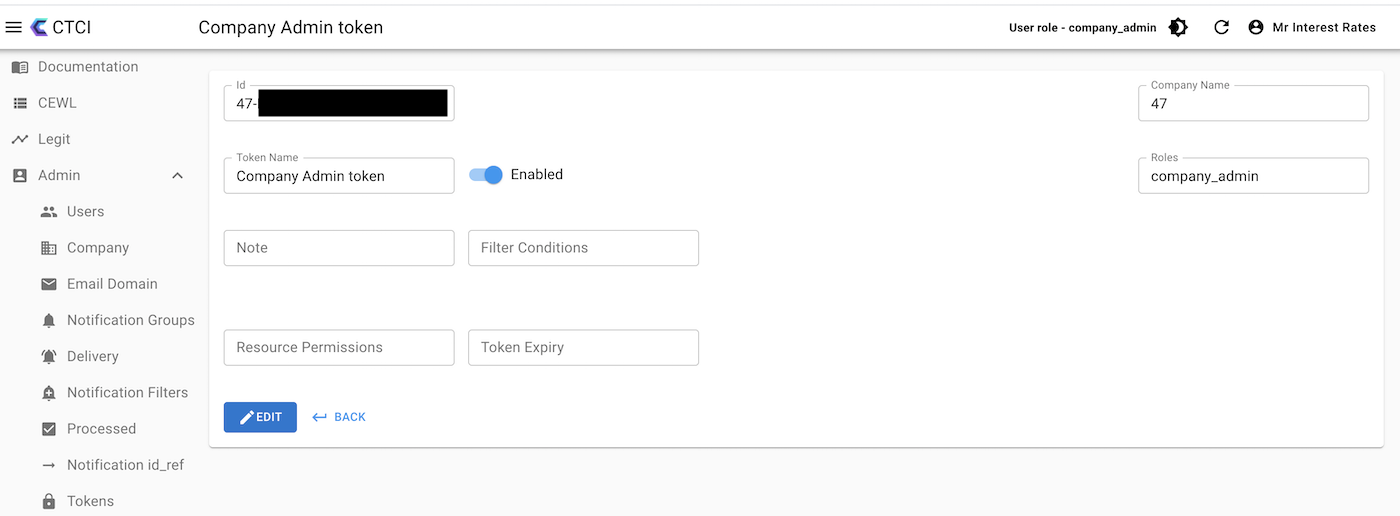
Figure 5, Edit an API Token entry.
User email address, first name, and last name are required.
Delete a User
Two ways to do it, within the edit page, see the icon above in Figure 5, Choosing a User, and in the list view, select the checkbox and scroll all the way right, and you will see a Delete icon. See Figure 6 below.
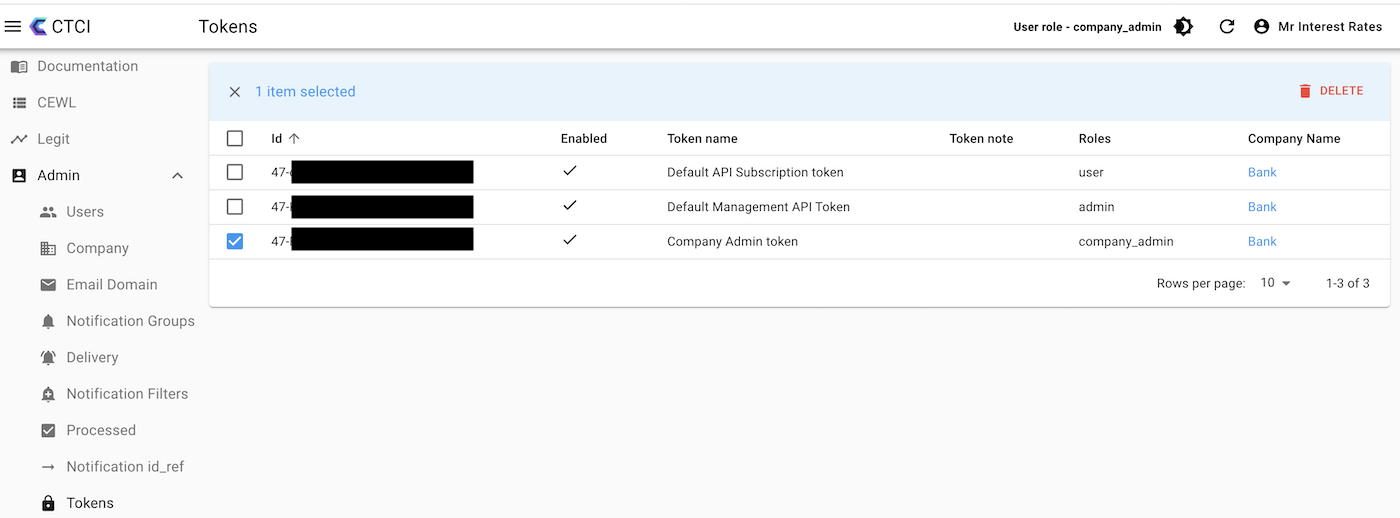
Figure 6, Deleting a User